The Requirement
Need to install fresh wordpress with same version on wordpress droplet of digitalocean.
The Problem
My setup (wordpress droplet) was suddenly stop working. I started debugging.
Debug
Checked apache2 and mysql service:
service mysql status

service apache2 status
Both services was active. Then I checked the apache2 processes with below command:
$ ps -ef | grep apache2 | wc -l
151
Lots of apache child process has been forked. Which was not good.
checked apache’s error log (tail /var/log/apache2/error.log), But not found anything.
I took decision to setup new wordpress of same version. I was little sure that some plugin was causing this problem But i don’t have so much time to go through all plugins.
Droplet configuration
OS : Ubuntu 18.04.3 LTS
Memory : 1GB
Disk : 25GB
Cost : $5/Monthly
Process to install WordPress
Step 1: Source directory backup
Take backup with cp command.
$ cd
$ mkdir ~/backup_wp
$ cp -R /var/www/html ~/backup_wp/
Digitalocean installs the wordpress in /var/www/html/ path.
Step 2: Database backup
$ mysqldump -uroot -p wordpress > ~/backup_wp/wp.sql
Here wordpress is the Database name.
If you don’t remember the password for MySQL, Get it from wp-config.php:
vim /var/www/html/wp-config.php
Check for the linedefine( 'DB_PASSWORD', 'xxxxxxxxxxxxxxxxxxxxxxxxxxxxxxxxxxxx' );
Step 3: Check version of the existing WordPress
vim /var/www/html/wp-includes/version.php
Look for the line$wp_version = '5.2.4';
Version can be different.
Step 4: Download WordPress zip file
Go to Wordpress Releases page. Check for your version and download with below command:
wget https://wordpress.org/wordpress-5.2.4.zip
Unzip it:
unzip wordpress-5.2.4.zip
It will extract all files in wordpress folder.
If unzip is not already installed, Please install it with below command:
apt install unzip
Step 5: Replace source of /html with /wordpress
rm -rf /var/www/html
mv wordpress /var/www/html
Step 6: Change configuration
Go to your website URL, It will show you below page:
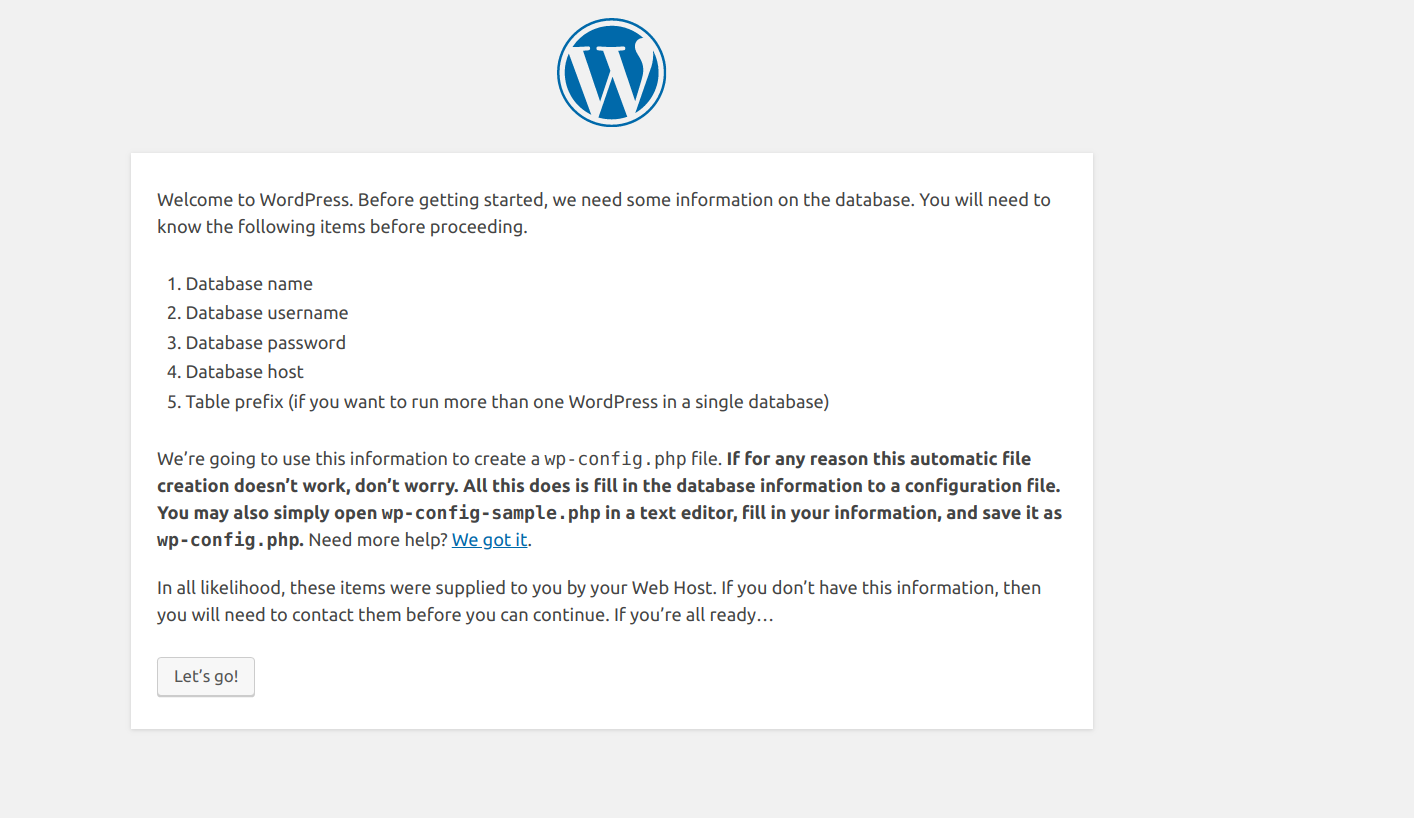
Just click on the
Let's go!Button.Put you DB conf as shown in below image
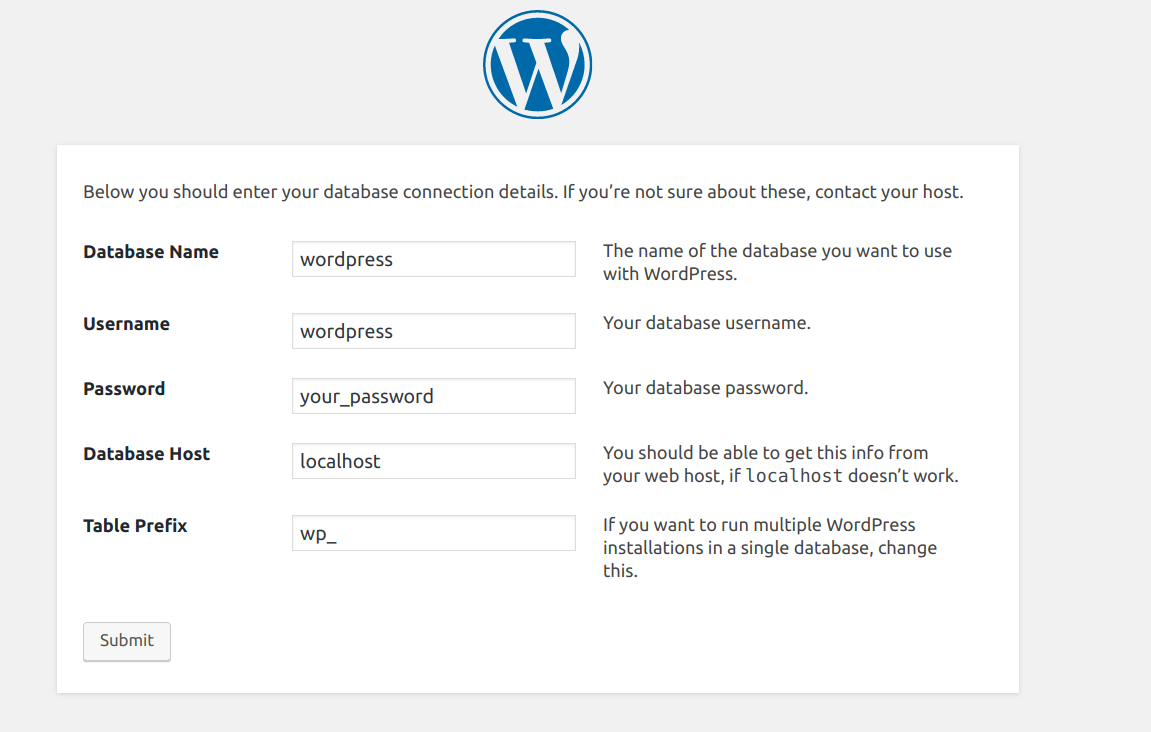
Click on the
SubmitButton.Create
wp-config.phpfile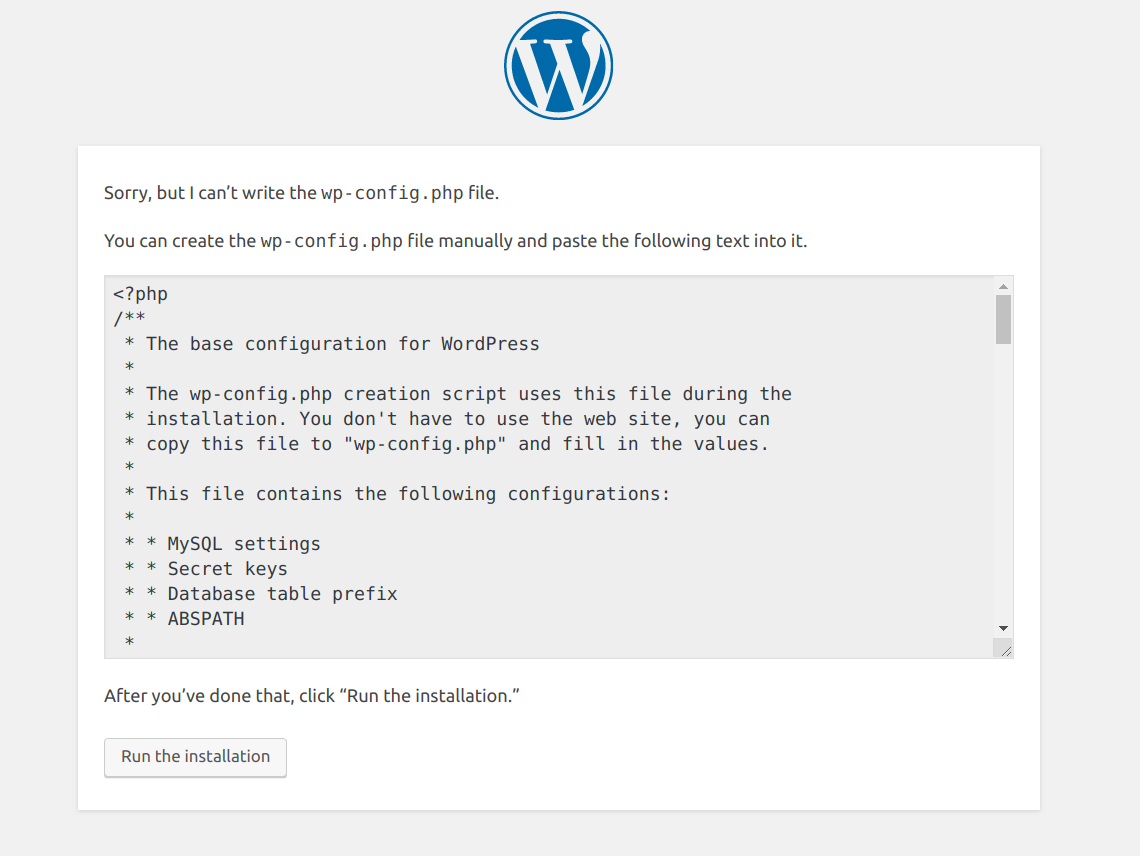
Create manually (
vim /var/www/html/wp-config.php) if it is not created automatically and click on theRun the installationButton.You will see
Already Installedpage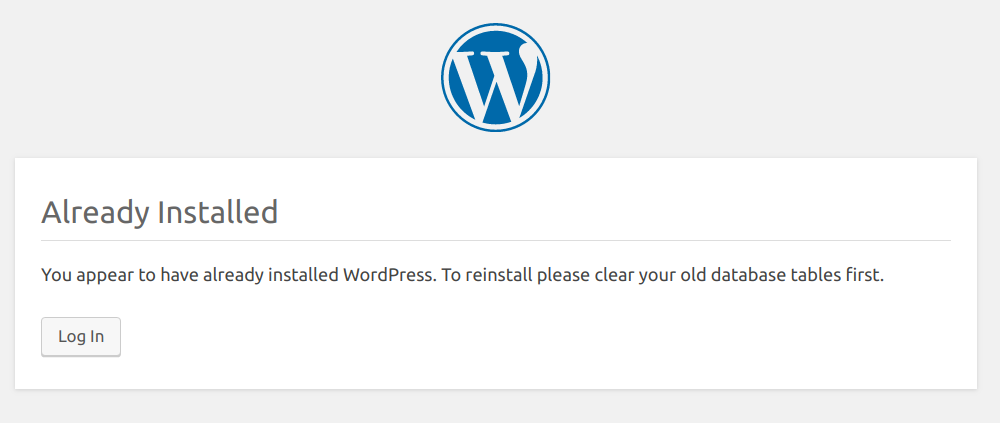
Just click on the
Log Inbutton. It will redirect you on the admin panel login page.
Now you can log in into your admin panel.
Step 7: Copy important files from backup
cp -R ~/backup_wp/html/wp-content/plugins/ /var/www/html/wp-content/
cp -R ~/backup_wp/html/wp-content/themes/ /var/www/html/wp-content/
cp -R ~/backup_wp/html/wp-content/uploads/ /var/www/html/wp-content/
This will copy all existing plugins, themes & all media files. But be careful while copying it, Becuase if it is the cause of your bug it can bring your site down again.
Important Configuration
cp ~/backup_wp/html/.htaccess /var/www/html/
Otherwise, your URL routing won’t work.
Step 8: WordPress asking for FTP details
If WordPress asking for FTP details on the each option like Adding themes, Installing plugins etc. Then add below line in your wp-config.php file.
vim /var/www/html/wp-config.php
Add
define('FS_METHOD','direct');
Test complete website
If everything went perfect, It will run smoothly. So we have successfully set up new Vanilla WordPress with exisiting database and without touching to apache configurations. If you feel any doubt or problem feel free to comment below and Also you can share your review in comments.